

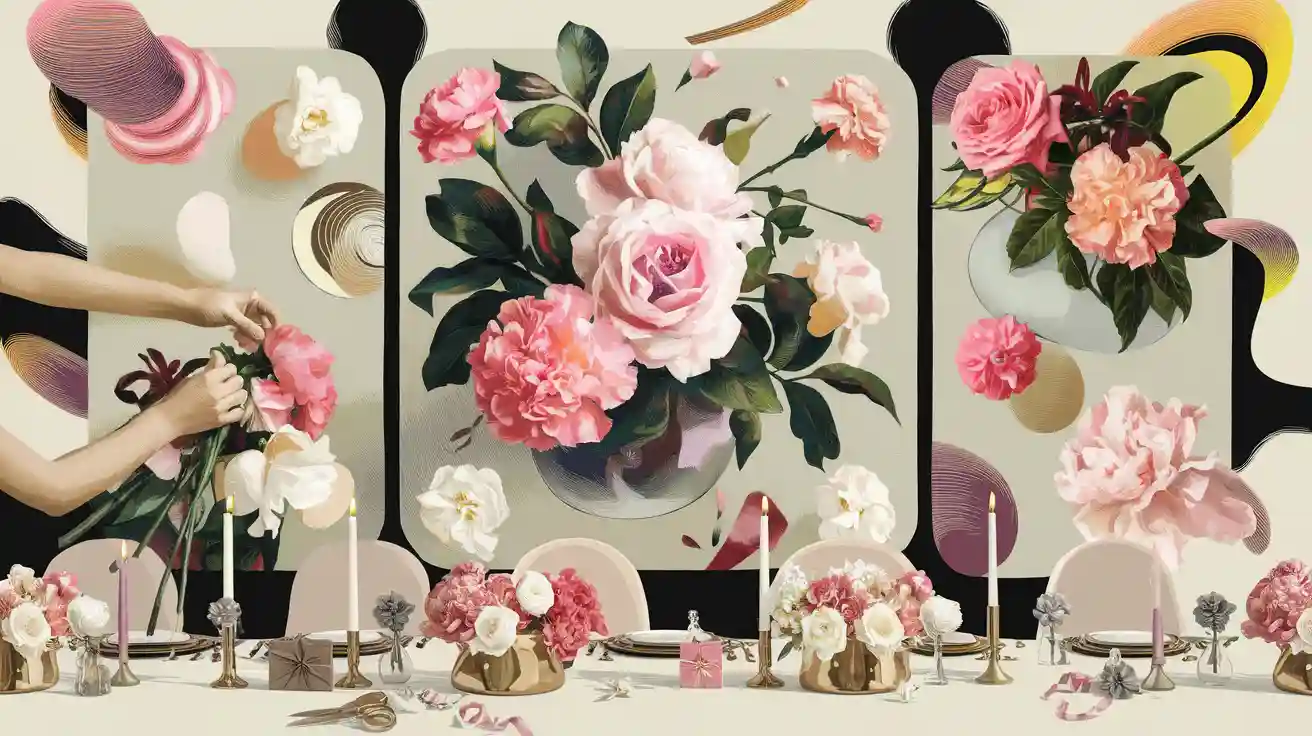
You can make a flower wall backdrop for your party or wedding with just a few simple steps. A diy flower wall gives you the freedom to choose your favorite floral colors, shapes, and arch styles. This diy floral backdrop for any occasion saves money and lets you reuse your flower wall for future events. You do not need special skills to start this diy project. Use flower panels for backdrop or build your own arch with silk or real flowers. This tutorial helps you design a photo backdrop with a custom background and floral arch that fits your celebration.
Materials for DIY Flower Wall Backdrop
Choosing Flower Panels for Backdrop
When you begin your diy flower wall, pick the best flower panels for backdrop. You can choose panels made from silk, plastic, or dried flowers. Faux flower panels look real and come in many colors and styles. They are simple to use again for other events. Real flower panels smell nice and look fresh, but they wilt quickly and cost more money. If you want to save money and time, faux flower panels for backdrop are good for most diy projects. You can add greenery or baby’s breath to make your floral wall look fuller and more interesting.
Tip: Good flower panels from stores like Nearly Natural, Pottery Barn, or Target help your diy backdrop look great without costing too much.
Tools and Supplies List
You do not need special tools to make a flower wall. Most flower wall supplies are easy to buy at craft stores or online. Here is a list to help you begin:
Flower panels for backdrop (faux or real)
Foam boards, wire mesh, or grid frames (for the base)
Hot glue gun and glue sticks
Floral tape, floral wire, or zip ties
Scissors or wire cutters
Greenery, filler flowers, or LED fairy lights for extra style
Command strips or hooks for hanging
These flower wall supplies help you build a strong and pretty floral backdrop for any party or wedding.
Base and Frame Options
You have different choices for the base of your diy flower wall. Foam boards are light and easy to cut. Wire mesh or grid frames give strong support for big flower panels. Wooden or metal frames make your backdrop steady if you want to move it. For outdoor parties, use support legs or stakes to keep your flower panels for backdrop in place.
Here is a quick chart that shows the good and bad sides of real and fake flowers for your floral wall:
Aspect |
Fresh Flowers (Real) |
Artificial Flowers |
|---|---|---|
Appearance |
Natural beauty, unique scent |
Consistent, realistic, many color choices |
Durability |
Wilts quickly, fragile |
Long-lasting, reusable |
Cost |
Expensive, seasonal |
Budget-friendly, no season limits |
Customization |
Limited by season |
Unlimited options, always available |
Environmental Impact |
Compostable, but resource-heavy |
Not biodegradable, better if reused |
Convenience |
Needs last-minute setup |
Prep in advance, easy to store |
If you want to use your flower panels again, artificial ones are better for the environment after a few uses. Real flowers are nice for one-time use but need more care and cost more.
How to Make a Flower Wall
Plan and Measure
Before you start your diy flower wall backdrop, take time to plan. Think about where you want to place your flower wall. Use a tape measure to check the length and width of your space. For wedding photography, an 8ft by 8ft (about 240cm by 240cm) flower wall backdrop works well. This size gives you enough room for group photos and makes your event look grand.
Pick flowers with sturdy stems, like roses, succulents, orchids, or palm leaves. These flowers hold up well and add texture to your diy floral wall backdrop. Avoid delicate flowers such as hydrangeas and tulips because they wilt fast. You can choose between real or silk flowers. Silk flowers last longer and are easier to reuse.
Here’s a simple planning checklist:
Measure your space with a tape measure.
Choose your base (foam board, mesh, or grid frame).
Decide on your color scheme and flower types.
Sketch your design or lay out flowers on the ground to see how they look together.
Tip: Mark dots about 2 inches apart on your base. This helps you place flowers evenly and keeps your flower wall looking full.
Arrange and Attach Flowers
Now you can start to create a flower wall that matches your vision. Sort your flowers by type, size, and color. Lay them out on the ground to test different patterns or color gradients. Try classic white and blush roses for a timeless look, or go bold with bright colors for a festive vibe. Greenery and foliage add a fresh touch, while pampas and dried grasses work for autumn themes.
Follow these steps for arranging and attaching:
Place larger flowers first. These become your focal points.
Fill in gaps with smaller flowers and greenery.
Overlap petals and leaves to avoid empty spots and add fullness.
Start attaching flowers from the bottom and work your way up. This keeps flowers from getting crushed.
Secure each flower using the right adhesive for your base.
Here’s a quick table to help you pick the best adhesive:
Adhesive Type |
Best For |
|---|---|
Command Strips |
Light flowers, smooth walls |
Hot Glue |
Permanent placement, foam or mesh bases |
Wire |
Heavy flowers, grid or mesh frames |
Velcro Strips |
Easy removal, light to medium flowers |
Floral Foam |
3D arrangements, realistic look |
Adhesive Hooks |
Heavy flowers, hanging with fishing wire |
Note: Use low-temperature glue guns to avoid damaging your base. For heavy flowers, wire or adhesive hooks work best.
Connect Flower Panels
If you use pre-made panels, connect them to cover your whole backdrop area. Most panels snap or zip together. For a standard 8ft by 8ft flower wall, you need about 24 panels (each 60cm by 40cm). Lay out your panels on the floor first to check the fit.
Attach each panel to your base or frame using zip ties, wire, or Velcro strips. Make sure the panels line up so the seams do not show. Test the stability by gently shaking the wall. If it wobbles, add extra support with more ties or a stronger frame.
Common mistake: Do not skip checking the stability of your flower wall. Always secure the wall with extra support or anchors, especially for outdoor events.
Add Decorative Touches
You can make your diy flower wall unique with special decorations. Add custom signs, initials, or neon lights with fun messages like “Better Together.” String lights or LED fairy lights give your flower wall a soft, romantic glow. Balloons, ribbons, or matching flowers from your cake table can tie your whole party theme together.
Try these ideas to enhance your easy diy flower wall backdrop:
Add greenery, ferns, or eucalyptus for texture.
Use pastel flowers for a dreamy look or bold colors for a lively party.
Mix in dried grasses or pampas for a trendy touch.
Place your flower wall in a well-lit spot for the best photos.
Pro tip: Personal touches make your diy project stand out. Match your flower wall backdrop to your event’s color palette for a polished look.
A good tutorial can help you if you feel stuck. Many online tutorials walk you through each step, from collecting materials to setting up your flower wall. These guides often include tips for beginners and show you how to create a flower wall that fits your style and budget. With a little planning and creativity, you can build an easy diy floral backdrop that impresses your guests and looks great in photos.
Display and Secure Your DIY Flower Wall
Mounting and Stability
You want your flower wall backdrop to look amazing and stay safe during your event. There are several ways to mount your diy flower wall. You can use a pipe-and-drape system, a wooden frame, or a sturdy backdrop stand. Each option works well for different spaces and needs.
For indoor parties, a backdrop stand or wooden frame gives you a solid base. Place the stand on the ground and add base weights to keep it from tipping. Adjust the poles to the right height and lock them in place. Always double-check by gently shaking the stand. If it wobbles, add more zip ties or weights.
Outdoor events need extra care. Hammer stakes into the ground or use sandbags to anchor the base. If you set up on grass or dirt, drill holes in the support legs and drive spikes into the ground. You can also attach anchor lines to weighted blocks or cinderblocks for more stability. After you attach your flower panels, press on the wall from the front and back to make sure it will not tip over.
Tip: For large gatherings, work with someone who has experience building flower walls. They know how to use wooden bases and studio weights for extra safety. Always have a backup plan in case of bad weather.
A stable flower wall backdrop keeps your breathtaking photo backdrop safe for every photo session. You want your guests to enjoy the floral display without worry.
Transport and Storage
Moving and storing your diy flower wall can be easy if you plan ahead. Break down your flower wall backdrop into smaller panels for transport. Stack the panels flat in your car or van to protect the flowers. Use soft blankets or bubble wrap between layers to avoid crushing petals.
When you store your floral wall, pick a cool, dry place away from sunlight. Sunlight can fade the colors, and humidity can damage the flowers. Dust your flower wall gently with a soft brush or use a hairdryer on a cool setting. Try not to handle the wall too much so the petals keep their shape and color.
Note: Enjoy your breathtaking photo backdrop from a distance to keep it looking fresh for your next event.
With these tips, you can keep your flower wall backdrop beautiful and ready for any party or photo session.
Customize and Create a Flower Wall
Budget-Friendly Ideas
You can make your diy flower wall look great for less money. Use fabric flowers, paper blooms, or hand-dyed fabric garlands. These choices cost less than real flowers but still look nice. Mix fabric roses, satin flower appliques, or a rose petal aisle runner for something special. Add a white cherry spring wreath or a Hawaiian flower hair clip for color.
Here’s a table with some cheap options for your flower wall decor:
Alternative Type |
Description |
Price Range |
|---|---|---|
Hand Dyed Fabric Garland |
Colorful garland made of cotton strips, good for arch or table. |
$168 |
Satin Flower Appliques |
Ivory satin flowers with pearl centers, nice for arch or aisle. |
$16 |
White Cherry Spring Wreath |
Greenery and hydrangeas on wood, easy to hang on your arch. |
$69 |
Fabric Portable Floral Panel |
Pink and white fabric roses on netting, easy to hang for photos. |
$659.99 |
Rose Petal Aisle Runner |
Fake rose petals sewn onto fabric, soft touch for arch or walkway. |
$117+ |

You can use paper flowers or garlands to fill empty spots on your diy floral arch. These decorations help you save money and still make a pretty backdrop for your party or wedding.
Enhancing Visual Impact
You want your diy floral arch backdrop to look amazing and impress guests. Pick colors that match your event. Pastels are good for romantic themes. Bright colors work for summer parties. Put big flowers in the center and small ones around the edges. This makes your arch stand out and look deep.
Add layers of greenery, ribbons, or fairy lights for extra style. Mix paper flowers with fake greenery like ferns or eucalyptus for more texture. Try ombre effects, shapes, or shiny accents for a cool look. Place your arch near windows or under lights so your flower wall decor looks good in photos.
Add custom signs, initials, or quotes for a personal touch. Match your arch flowers to your table flowers for a neat look. Use your arch as an entryway or behind the cake table to guide guests and show important spots. Themed floral backdrops with seasonal flowers, pinecones, or snowflakes can make your arch special for any event.
Tip: Adding unique decorations to your diy floral arch helps you make a flower wall everyone will remember.
You can build a flower wall that transforms any party or wedding decor. Start by planning your design, choosing sturdy materials, and arranging flowers with care. Many guests love taking photos in front of a pretty flower wall, but some notice if the panels look cheap or lack greenery. You might spend hours assembling your wall, and storing it after the event can be tricky. Try different flowers and layouts to match your style. When you put in the effort, you create a backdrop that guests remember.


